Made an early start to the day this morning, with the first cab off the rank being to get a test wall rammed.
The first challenge was .. where to put it? Aside from the slab, there’s very little level ground on the site which is out of the way, so in the end I just dropped the forms near the big pile of soil.
After looking closely at the sedimentation test, I reckon the soil is 90% clay, with a little bit of aggregate. This is a problem, since all-clay soils aren’t suitable for ramming as they tend to shrink. Good thing I’ve got a pile of sand left over from forming the slab pods! :)
First, a drop test. This first one was pure soil (i.e. clay):
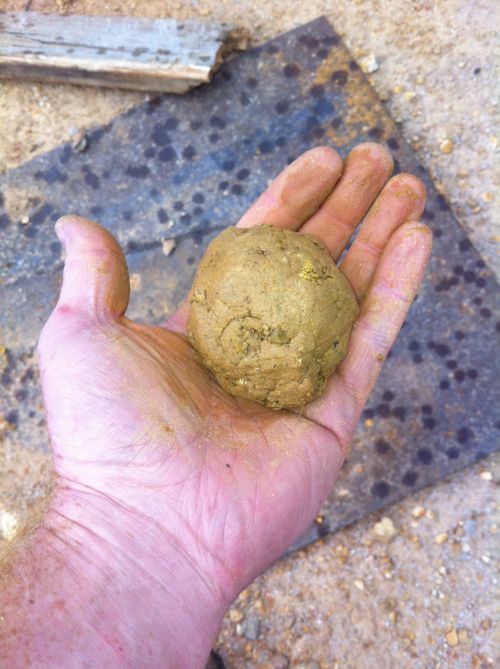
.. and after the drop:
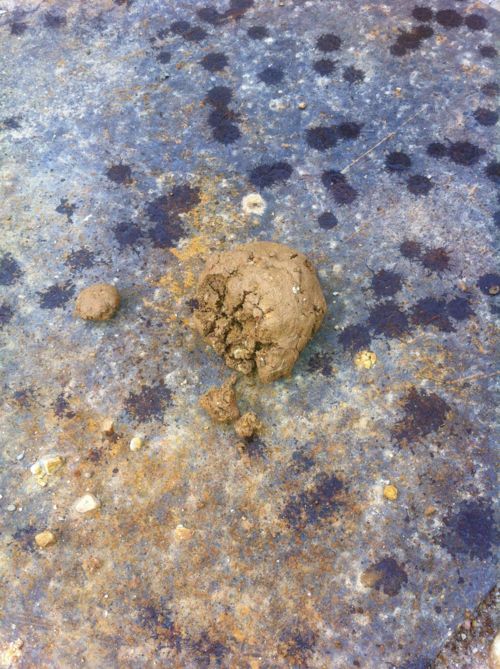
Not a lot of fracturing going on there, which is what we’re after. Another, with a little sand mixed in:
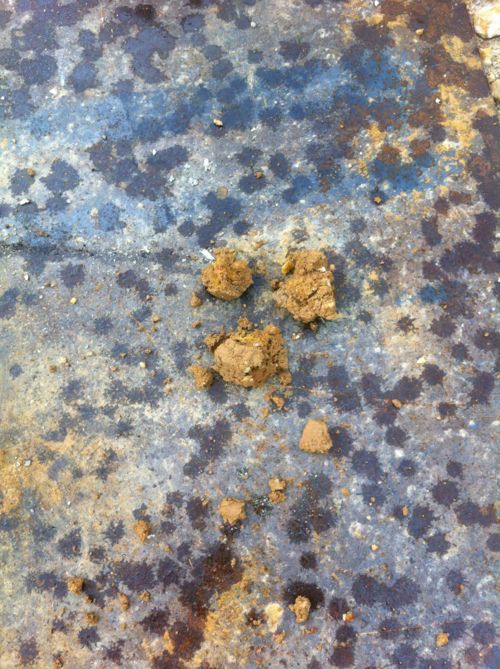
Not quite what I had in mind, but better than the first. It does at least confirm that I’ll need to add a little sand to the soil before it’s suitable for ramming.
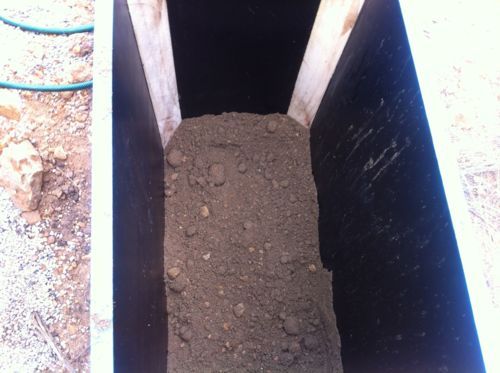
So, with that in mind I mixed up a wheelbarrow with 2 parts soil (clayey) to 1 part sand, with 5% cement added to stabilise it, and a little water to bind and activate the cement:
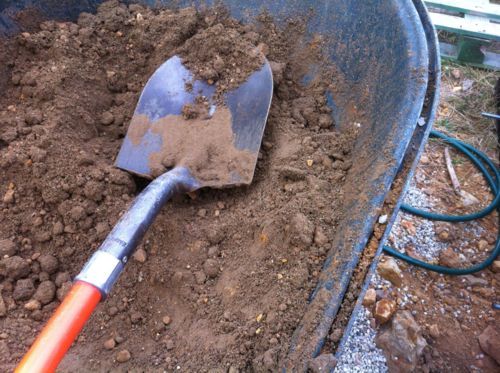
If nothing else, this exercise highlighted that I should either use the bobcat to mix the soil, or buy a cement mixer… mixing in a barrow is just too much hard work!
Anyway, into the form!
These are the tools I’ll be using to ram the soil:
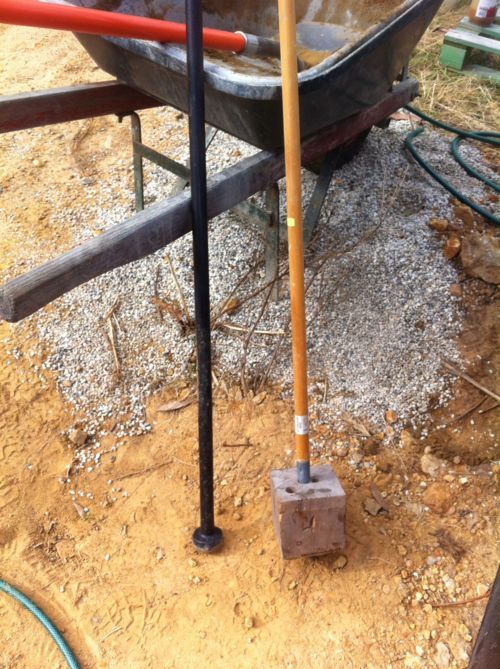
On the left is the crow bar (I bought this one because it has a nice round head which I thought might come in useful :) ) and on the right, a makeshift tamper I threw together using a paint roller extension pole and a piece of scrap cypress pine. I don’t expect this to last very long ;)
After tamping it down a little with my makeshift tamper, this was the result:
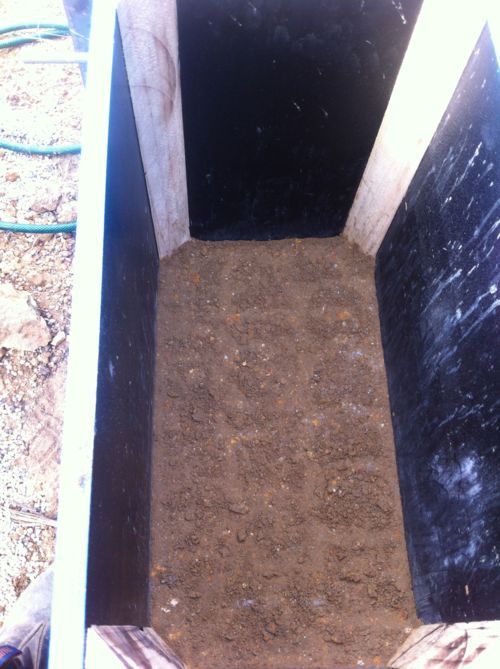
Not bad! The pole-and-block tamper really is too light for this work though - the crow bar was able to compress the layer another 20mm or so.
After a few layers, I noticed that the pressure of the tamping was forcing the end form piece out of position and worse, the whole formwork was being lifted off the ground.
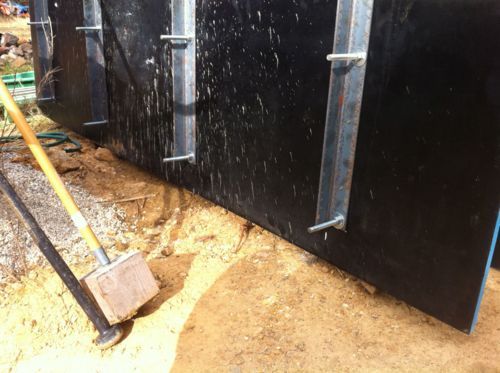
Not only that, but even though all the bolts were done up tight, the form was bulging a little where I was ramming and forcing the whole unit slightly out of shape.
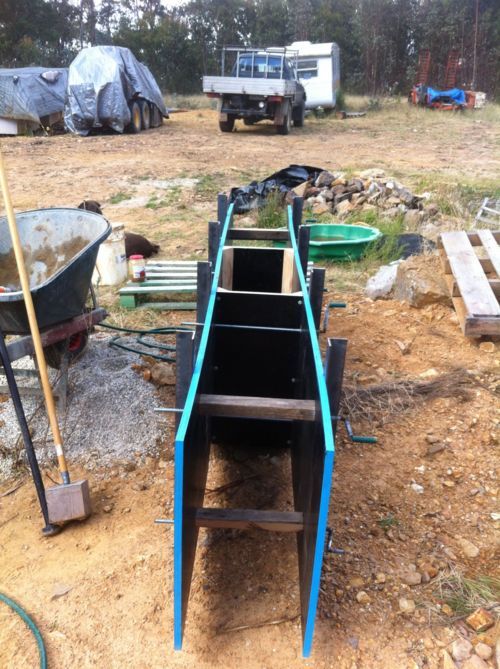
So it looks like a slight modification to the design is going to be required - longitudinal reinforcement is more critical than vertical, so I’ll add a couple of horizontal lengths of steel angle on each side to hold the unit square.
Either way, the aim of today’s test was to learn, and I did plenty of that :) Even though it’s lop-sided and not square, I’m thrilled with the end result:
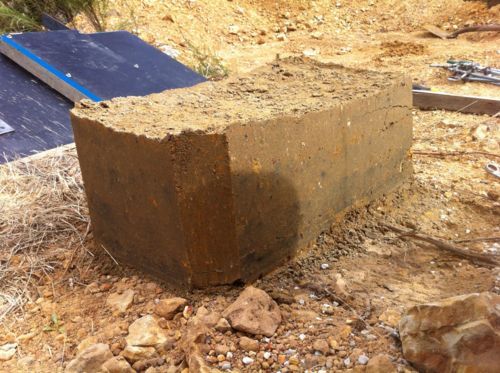
The form was removed as soon as I finished tamping, and this was the result. It’s rock hard, and although there’s a crack in the final layer I understand why this happened - the last of the material in the barrow was dryer than the rest as I didn’t mix the water thoroughly enough, and that was the side which pushed the form out of position.
I’m not thrilled with the colouring as both the sand and cement are grey which takes away from the natural colour of the soil, but as it dries it’s getting lighter and more appealing, and as the cement goes off it just gets harder. I think I’ll order a batch of yellow brickie’s sand when I come to ram the wall, as this will give a more natural colouring.
So as we hoped, it seems we’re going to be able to use our soil for ramming! :) The big lesson to take away from this exercise though is that there’s no way I can do this job by myself - it’s just too physical and slow with one person doing the mixing, transporting and ramming. I also think I’m definitely going to have to find a pneumatic rammer somewhere, because I have blisters from just doing this tiny test.
No comments:
Post a Comment