Since I'm hoping to power up the garage in the next couple of weeks, the power room needs to be lined in order to protect the wiring in the walls, since none of it is in conduit.
During the week I picked up a cheap ($20!!) air bradding gun, which shoots these little nails (brads) which you can hardly see once they're punched into the ply. It'll take a tiny smear of putty to hide them completely.
So this is my first effort with the ply. There's a bit of careful alignment required to ensure they're all square and level so there are no gaps, and it helps (a lot) if the adjacent sheets land on a common stud, so the sheets line up perfectly. I've intentionally allowed one pair of sheets to overhang a stud opening in this section to see whether or not I can get them aligned with a couple of additional noggings behind, and while it's not bad it's not as good as when the sheets meet over a stud. So that's what I'll aim for when I line the walls upstairs.

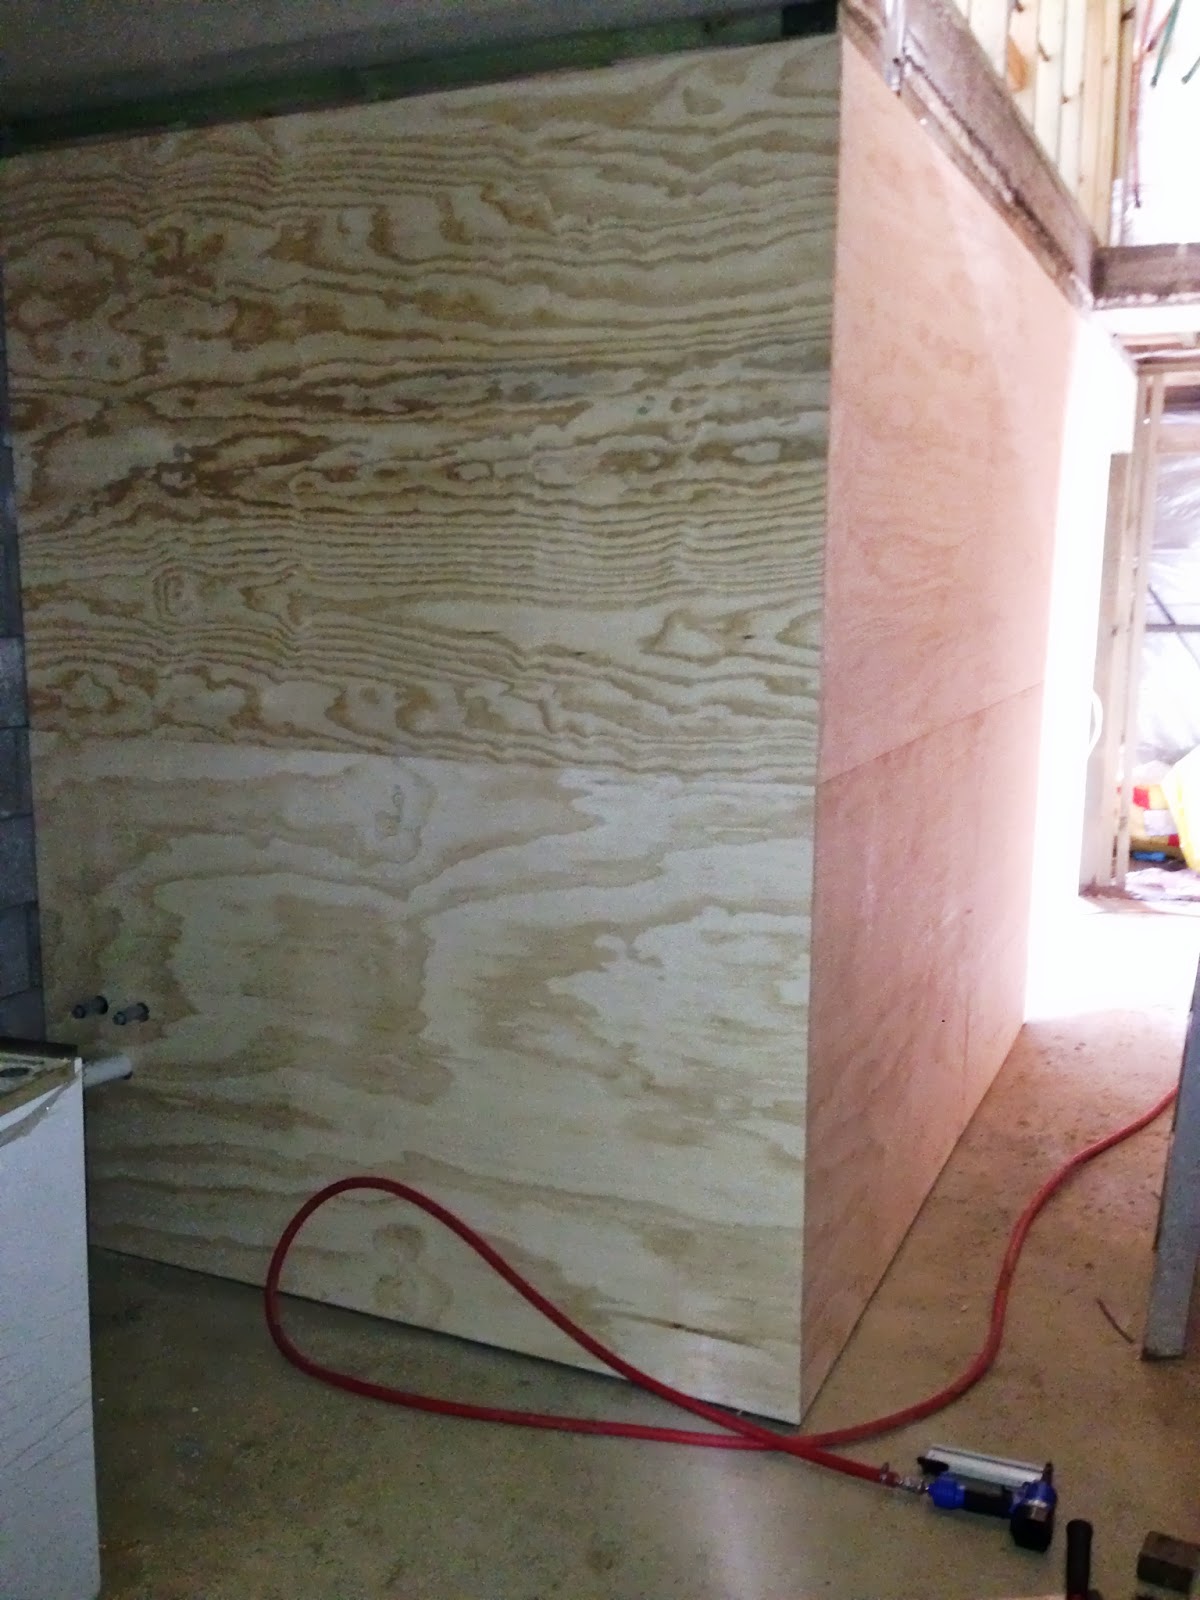
(The grain in this last shot is exaggerated a bit due to the lighting - it's not nearly this dark in reality. It's going to get a watered-down white acrylic "limewash" in any case, so it should come up nicely).
In amongst the lining I also ran a couple of Cat-6 cable runs - one for the inverter/charger remote control, and another for a network point in the clean room. I'll be running at least two cables to each room, terminating at a patch panel in the top of the linen cupboard - WiFi is convenient and all, but no match for hard-wired gigabit ethernet! :)
No comments:
Post a Comment