So with the container sorted, it was time to move on to the garage slab trenches. As above, the western perimeter is on fill so the trenches have to be sunk down to firm ground, which is 1800mm on the longest 18m trench. Again, bobcat/backhoe to the rescue.

It’s surprisingly hard to dig in a straight line, even with paint and string line guiding the way. Not only that, but this backhoe has obviously done some work in its time and has quite a bit of slop, and it tends to dig trenches which lean over on a 10º angle! ”That’s good, they’re keyed into the hillside” was how they were described to me.. that’s optimistic IMHO, but I’ll take it!
In any case, it got the job done. 
The only problem was that the day after I finished the trenches (and took that photo), it rained. A LOT. 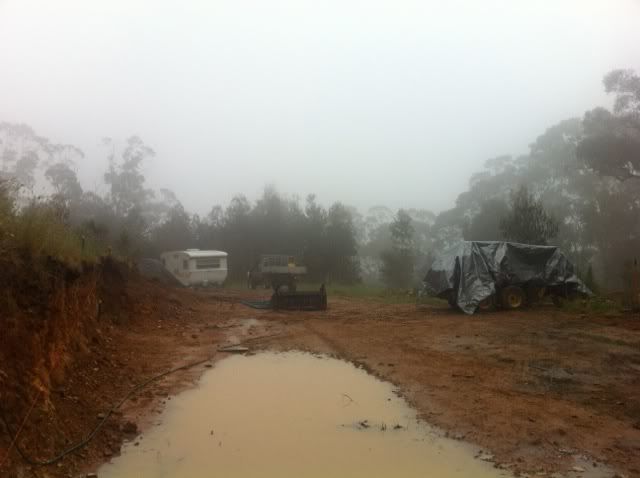
The deep trenches ended up with nearly 2 feet of water in them, and the ground got soft enough that in a few places the walls collapsed a little where I’d undermined them when digging up large rocks. This meant that I’ve spent the better part of three days, physically in the trenches with a bucket and shovel cleaning them out, because it would be too risky to get the machine over them without risking a major collapse. Definitely not something I want to do again, I’m still feeling it…
In the end though we ended up with a pretty good result, and the building inspector was happy which is very important! 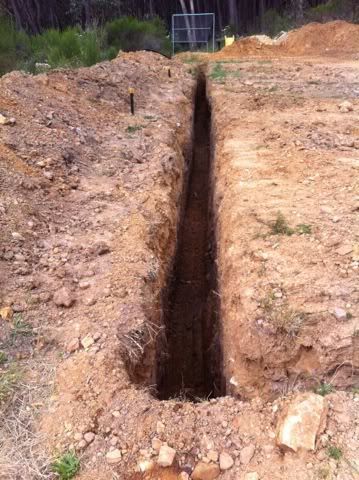
So then with the red tape out of the way, we could fill the holes with concrete. This bit happened yesterday. 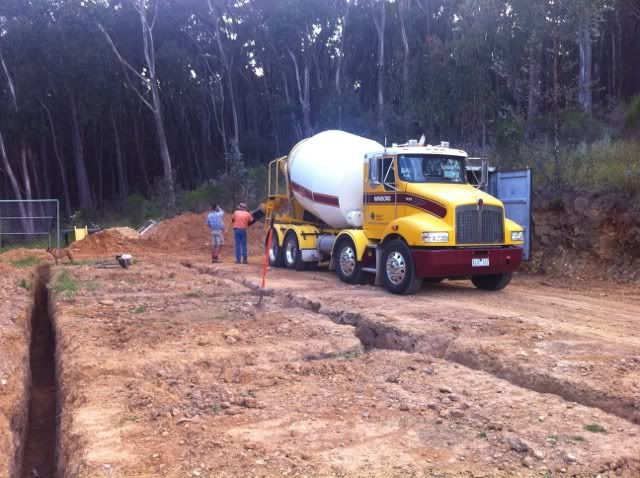
A total of 20.8m3 of concrete, all just dumped in the ground to make rock. 

Next, I need to dig the rest of the trenches for the other rib and perimeter trenches, then we can form up and pour the slab. Weather permitting, we’ll be having a slab warming on Australia Day!
Sunday, December 11, 2011
Trenches, trenches, trenches...
Thursday, November 24, 2011
The digging begins
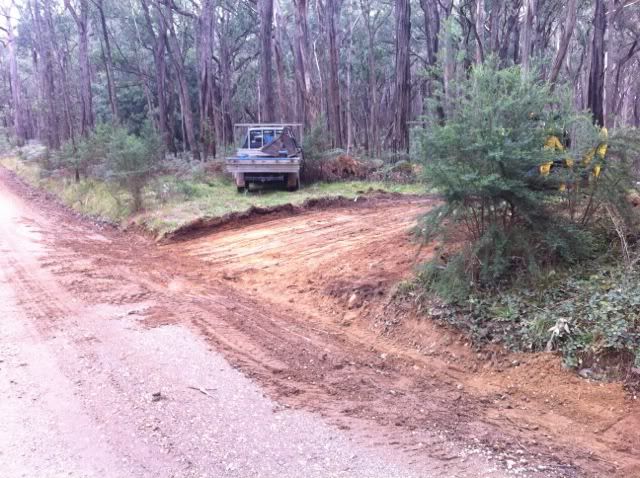
The next job for the bobcat was to form up and straighten out the cutting, before making preparations for the garage slab. Pretty easy work with the backhoe, pretty impossible without it. 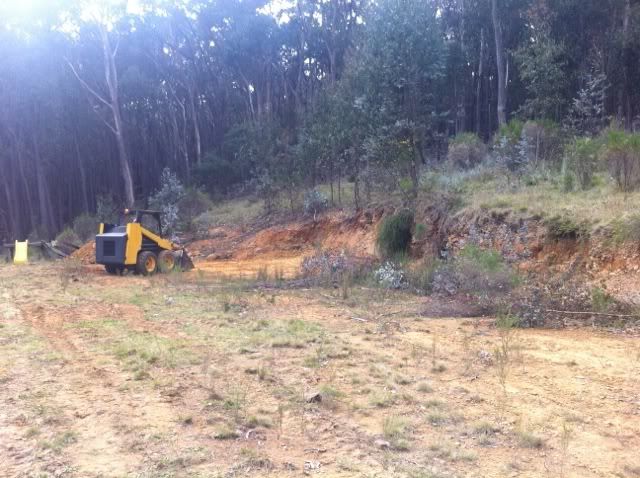
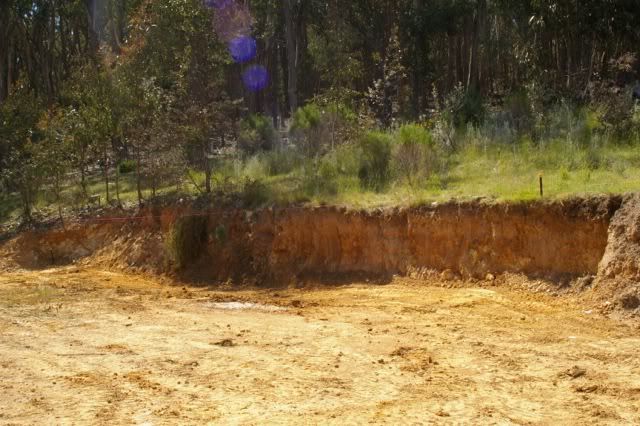
Then with the track formed up and we could get the truck in, we picked up an old shipping container for site security first, but it will be surrounded by the garage and turn into a structural member / storage room later. 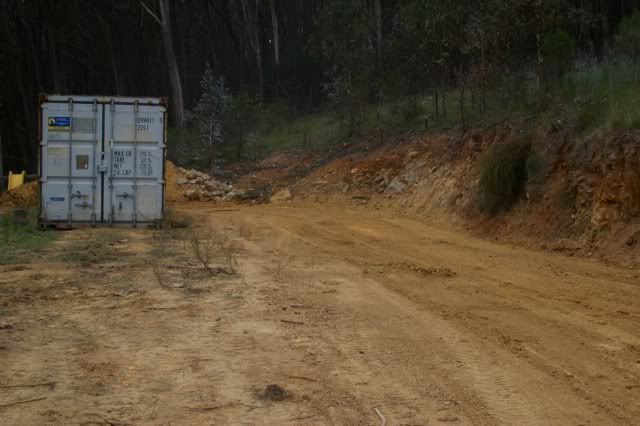
Then with the container on-site, we needed to dig & pour footings for it. First, marking out: 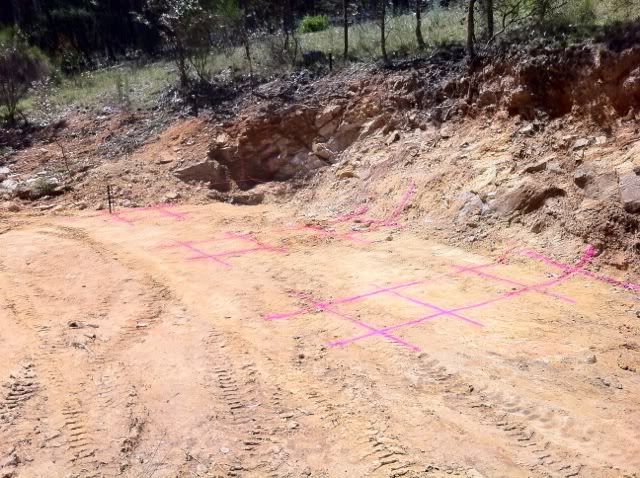
Then the digging. This was actually pretty hard going, the ground here is very hard and there’s lots of rock, so the rock breaker got a decent workout (and I even managed to break it once!) The small size of the pads (700x700) meant I couldn’t easily dig with the backhoe without making a mess of it, so most of this was done the old fashioned way. I am however developing a nice set of callouses… 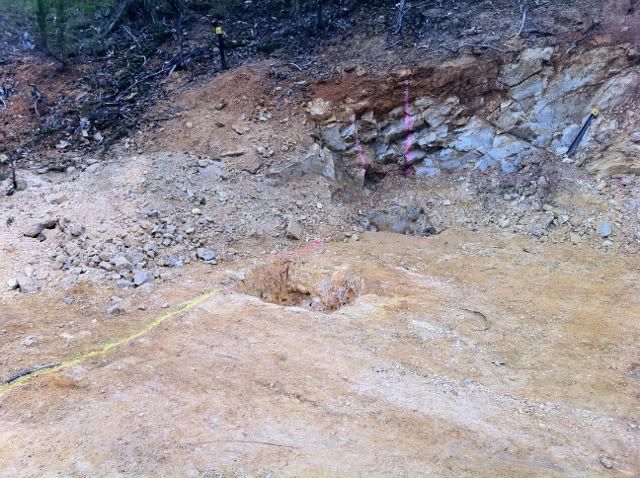
With the footings dug, we could form them up and pour: 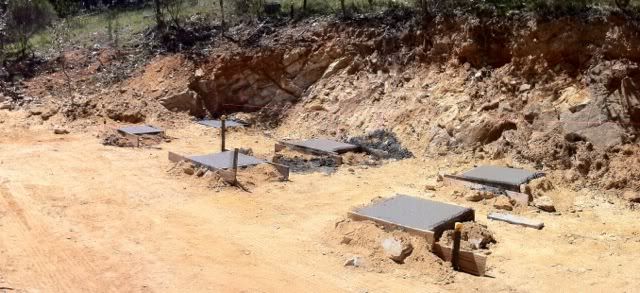
Finally, (doing my finest Jewish slave impersonation) I did the Egyptian thing and nudged the container over to its pads on logs. 
(granted, the Egyptians didn’t have bobcats, but they did have more than one slave…)
Tuesday, November 1, 2011
Gearing up
This is what the garage and dwelling will look like (if it were made of paper!) 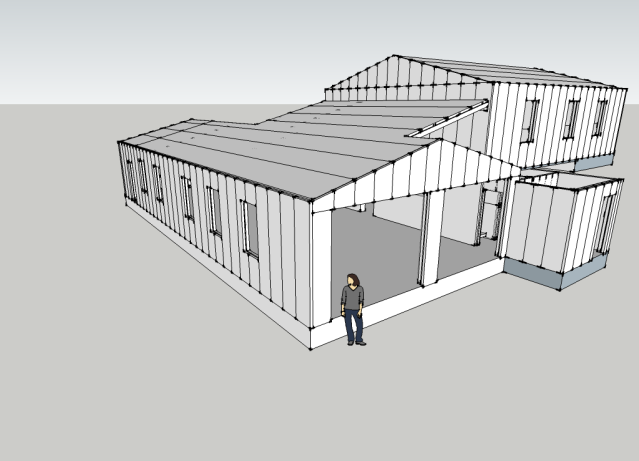
The site is cut-and-fill, so the garage will sit right up against the cutting in the hill, with the dwelling above extending onto the hill.
Since we’re doing pretty much all the work ourselves including the earthworks, the first thing to do was buy the right tool for the job: 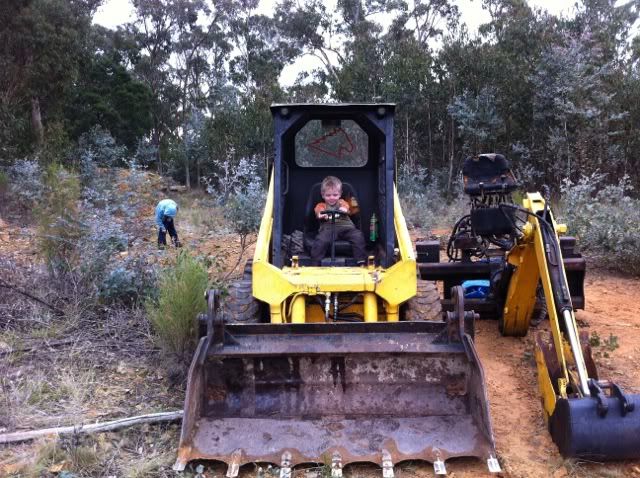
(it even came with a driver!)
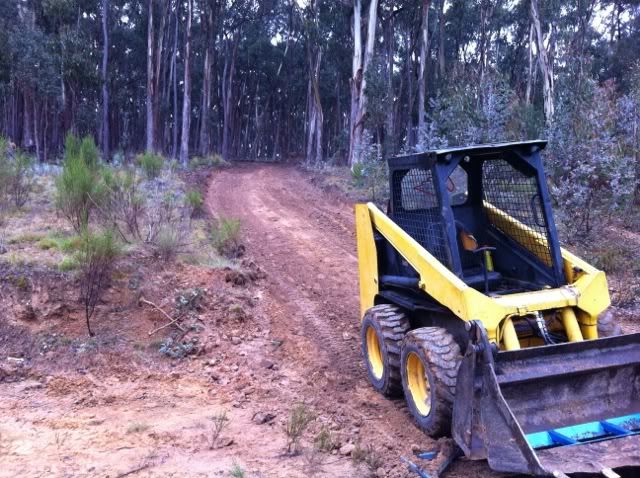
It’s a 1994-vintage Mustang bobcat, with 4-in-1 bucket, backhoe, auger and rock breaker. Its first job was to form up the access track a little for construction access, since it was basically nothing more than a couple of wheel tracks worn into the bush. 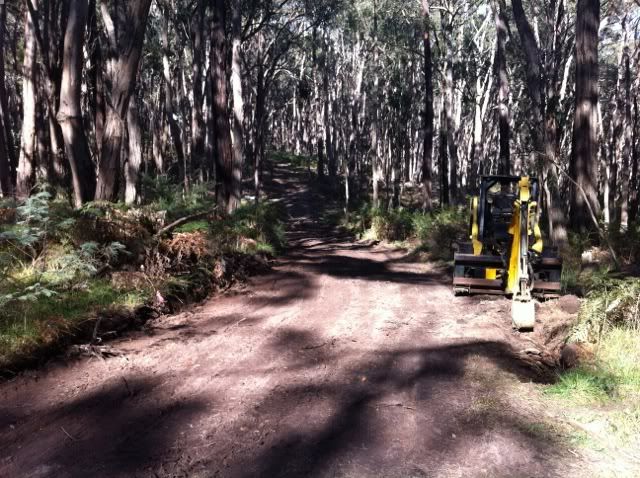
Monday, August 1, 2011
In the beginning...
Basically, what we’re doing is building a new family home in the bush, up in the Tallarook Ranges in Victoria (between Broadford / Seymour / Yea / Flowerdale). The plan is to eventually move up there with our three boys in a few years, when we finally get it all finished.
We’ve got about 110 acres of land, nearly all of it medium forest and much of it quite steep. Suits me, there’s a big cleared house site and no neighbours within half a kilometre - a stark contrast to city life, where we’re living in our neighbours’ pockets on three sides. There’s no power to our block nor within reasonable distance, so we’ll be totally self-sufficient on solar, with perhaps a little wind generation if we can get above the canopy. We’ll be catching our own rainwater, and feeding a worm farm sewer system. All pretty sustainable.
Being so heavily treed and since the 2009 bush fires, we’re classified BAL-FZ (which for the uninitiated and easily intimidated, means “bushfire assessment level: FLAME ZONE!!”) Essentially it means that the entire project has to be designed to survive a 1-in-100 year bushfire, which means no combustible materials externally, no accessible sub-floor, toughened glass everywhere and fire-shuttered windows and doors. Adds to the cost a bit, but it means the house and other buildings will very likely survive a major fire coming through. A good thing, too because there’s only one road in and out, and a single tree down across it means if we’re caught up there during a fire, our survival will depend on the buildings. And since there’s been no DSE fuel reduction burns and no bushfire in 30 years, when it does burn, it’ll BURN.
This is the last (and first, for that matter) house I intend to build so priorities are in order:
The garage is 18m x 8m, with an integrated shipping container and wash room bringing it to 18 x 11m. Room for two daily cars, a couple of project Minis, a two-pillar hoist and space for metal / woodworking tools.
Anyway, here’s a few pics (taken a few years ago, before the regrowth). First, the site plan:
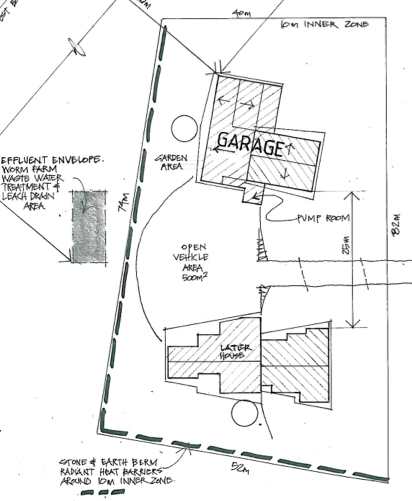
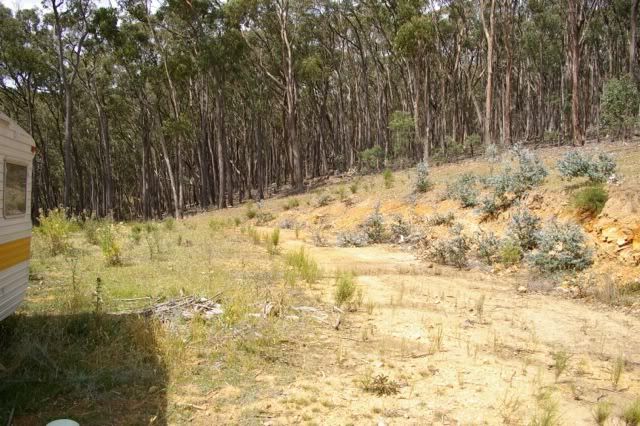
These give a pretty good indication of the land & house site. 
